GoPhish Documentation
Navigation
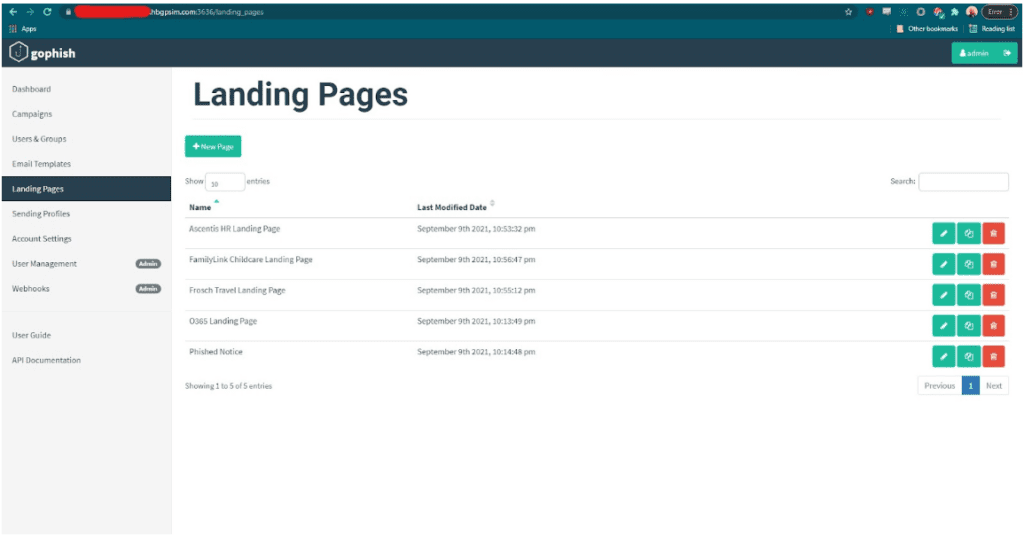
Landing Pages in GoPhish
Landing pages are the HTML pages that users are directed to when they click the phishing links in your campaigns.
On your landing page, you can use templates, capture credentials, and redirect users to a new website after they submit credentials.
Landing pages are stored in the Gophish database. A unique ID called the rid parameter will be assigned to each recipient in the campaign. The ID will help create the dynamic landing page for the user.
You can use the HTML editor to preview dynamic campaigns or simply send a test campaign to preview dynamic landing pages to ensure campaign success.
Click on “Landing Pages” on the sidebar, then click the “New Page” button to create a new landing page.
The landing page editor supports the HTML editor available in the Templates section.
Importing a Site From URL
One of the easiest ways to make a landing page is to simply copy the url of any landing page.
To import a site click the “Import Site” button.
After you import the URL, you should see the HTML from the URL appear in your editor.
Capturing Credentials
To capture credentials from your landing page, select the checkbox that says, “Capture Submitted Data.”
Gophish captures credentials in plaintext. If you don’t want to capture passwords, don’t select the “Capture Passwords” checkbox.
Redirecting Users
*Tip: During a phishing test, you might want to redirect users to the original landing page to prevent suspicion.
To redirect users, enter a URL in the “Redirect To:” field. Make sure to have the “Capture Submitted Data” box checked.
*Tip: Make sure to include the full URL including the scheme: http:// or https://
Static Assets
You can store HTML, CSS, JavaScript assets and other static files under the static/endpoint directory.
You can reference them using this URL: http[s]://phishing_server/static/filename
Need help getting started?
Our HailBytes GoPhish instances on AWS and Azure come pre-loaded with landing pages, email templates, sending profile templates, and more to get you testing faster.
Need even more landing pages?
You can find categorized email templates with matching educational landing pages for phished users, along with implementation guides in our gophish-training-templates repository on GitHub. Star our repo to help support future template development!