Gophish documentation
Navigation
How to set up a working SMTP Email Server for Phish Testing in 2022
Are you considering setting up your own phish testing campaign this year?
Social Engineering has grown into an even greater threat in 2022 and you’re thinking of ways to tackle it.
Yet mitigations that industry has put in place have made this harder than ever.
To get started you’ll need a few things.
You need a valid SMTP email server.
This can be challenging since most cloud providers block SMTP traffic.
You also need a dashboard to track, and analyze your social engineering findings.
This will allow you to watch progress and report back to the executive team.
Setting these up can take weeks of work plus testing, adding up to thousands of dollars in labor.
That’s why we’ve created this guide to show you how you can set up an SMTP server on hosting providers that don’t block SMTP.
By the end of this guide you’ll know how to configure and secure that server so it’s able to send messages.
Plus you’ll know how to warm the IP address the server is using so that messages deliver.
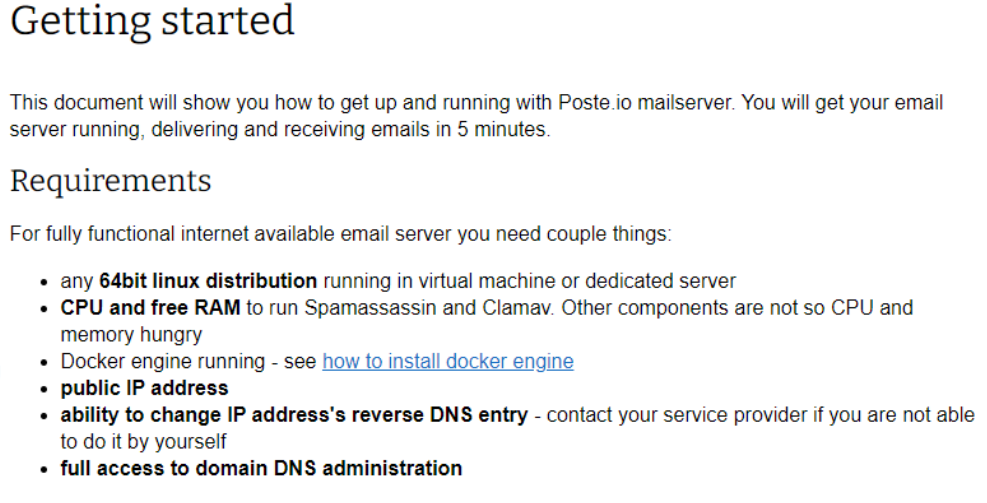
We’ll be using a tool called Poste.io to assist in the mail server configuration.
We’ll also show you how to set up a phishing dashboard that you can use to track and analyze your findings.
We have a dashboard leveraging GoPhish on Amazon Web Services ready to launch.
You can turn this dashboard on and off as you need to manage and analyze your phish testing campaigns.

How to set up your SMTP Server
First off you’ll need to get a VPS from a provider that allows SMTP traffic.
That means Contabo, Hetzner, LunaNode, BuyVM, or Scaleway.
We’ll be using Contabo in this example.
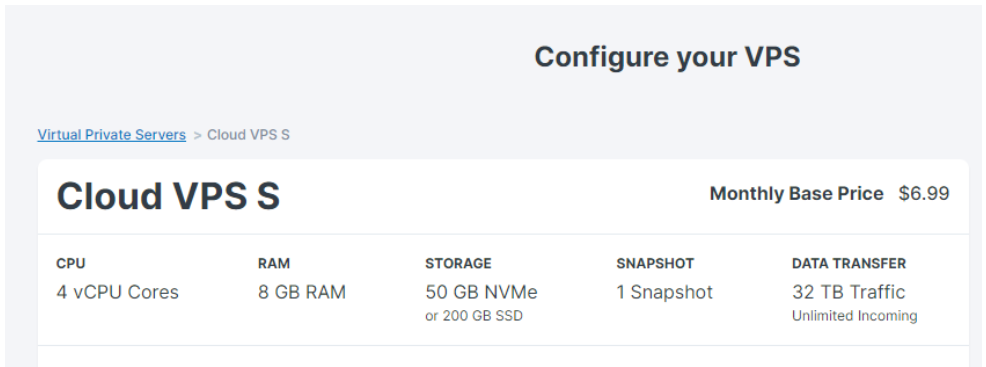
- Create an account at Contabo with at least 4GB of RAM and 80 GB of storage space.
Click here to open up a Contabo VM with the settings pre-selected.
- You can choose the term that suits your use case.

Our team uses monthly terms unless we have a longer use-case agreement for phish testing.
- Next you’ll want to choose a region that is closest to the organization you’ll be testing.

In this case, I’ll be using US East in Contabo.
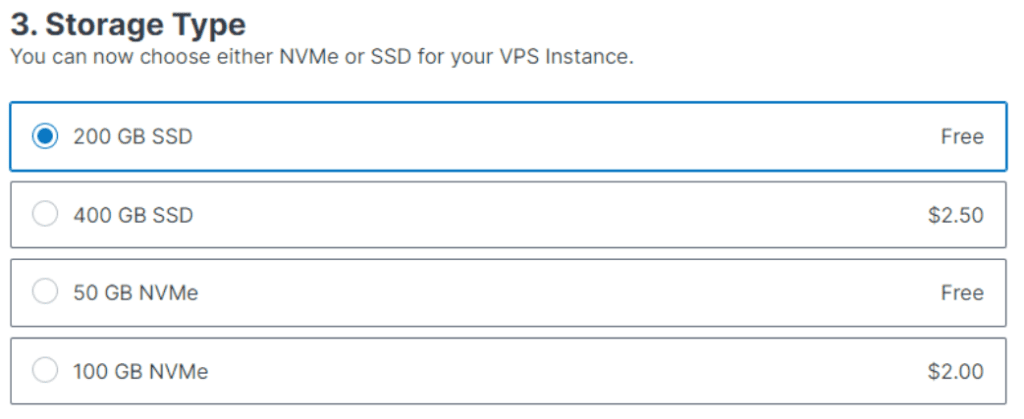
- The VPS you use for hosting your SMTP server should have at least 4 GB of RAM and at least 80GB of storage space.
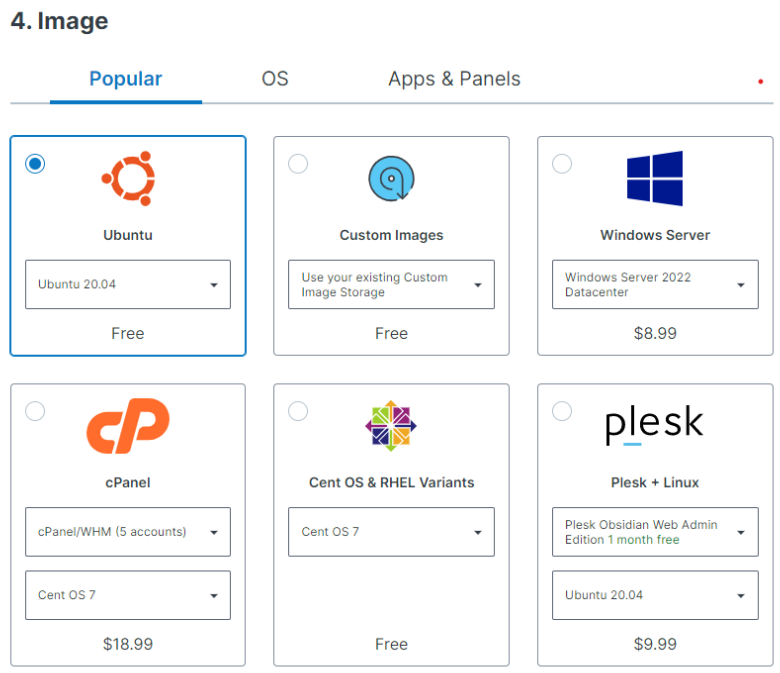
- Then you’ll want to choose the Operating System, select Ubuntu 20.04 to ensure compatibility.
6. Select a password that you’ll use for accessing your server via SSH. You can generate a strong password here: https://passwordsgenerator.net/
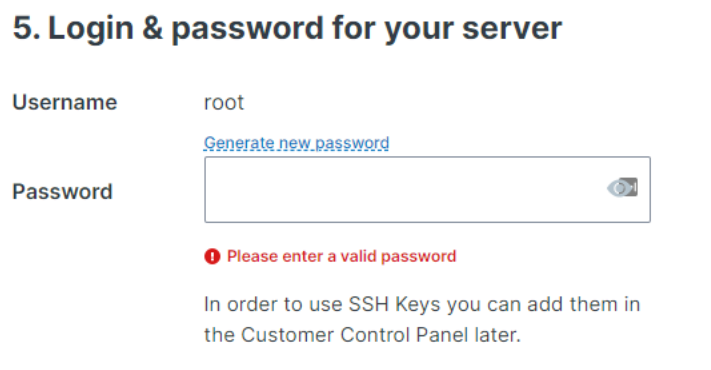
Make sure to store this in a password manager like LastPass for future reference.
- Make sure that you’re allocated at least one public IP address!

8. You can leave the defaults for Addons and Server Quantity in Contabo.

- After that you’ll have to login or create an account.
- Once you log in, pay the monthly fee for the service.
- After you pay, you’ll receive a confirmation email once your server is set up.
- Next we’ll log in to the server and begin setting up your SMTP server using Poste.io.

You’ll need to use the username (root) and the password you generated earlier to login to the server via SSH.
13. You can connect with your preferred SSH client, such as MobaXTerm or PuTTY.

Once you’ve logged in to the server, you’ll want to navigate to Poste.io and run the following steps:
- Install Docker Engine on your Ubuntu server using the instructions with the quickstart script here:

curl -fsSL https://get.docker.com -o get-docker.sh
sudo sh get-docker.sh
- You can also install Docker Engine using the following commands if the quickstart script doesn’t work for your Ubuntu distribution:
sudo apt-get update
sudo apt-get install \
ca-certificates \
curl \
gnupg \
lsb-release
curl -fsSL https://download.docker.com/linux/ubuntu/gpg | sudo gpg –dearmor -o /usr/share/keyrings/docker-archive-keyring.gpg
echo \
“deb [arch=$(dpkg –print-architecture) signed-by=/usr/share/keyrings/docker-archive-keyring.gpg] https://download.docker.com/linux/ubuntu \
$(lsb_release -cs) stable” | sudo tee /etc/apt/sources.list.d/docker.list > /dev/null
sudo apt-get update
sudo apt-get install docker-ce docker-ce-cli containerd.io docker-compose-plugin
- Verify Docker Engine is running with the following command which should output Hello World and then shutdown the Docker container:
sudo docker run hello-world
17. Download and run the Dockerfile from Poste.io from https://poste.io/doc/getting-started using the command below.
$ docker run \
–net=host \
-e TZ=America/ New_York \
-v /your-data-dir/data:/data \
–name “mailserver” \
-h “mail.yourphishdomain.com” \
-t analogic/poste.io
There are a few modifications you’ll want to make to this command:
- -e TZ=America/ New_York Set timezone for correct datetime
- -v /your-data-dir/data:/data Mounts data directory from host system. User database, emails, logs, all will end up in this directory for easy backup.
- –name “mailserver“ Run poste.io as container with defined name
- -h “mail.yourphishdomain.com” Hostname for your phish testing mail server
Poste.io will handle setting up the latest security measures, TLS, SPF, DKIM, and DMARC on your behalf.
- Use an IP Warming tool for at least 72 hours before phish testing campaigns.
Lemlist is $29/mo, and WarmupInbox is $9/mo, refer to IP Warming SOP for details.
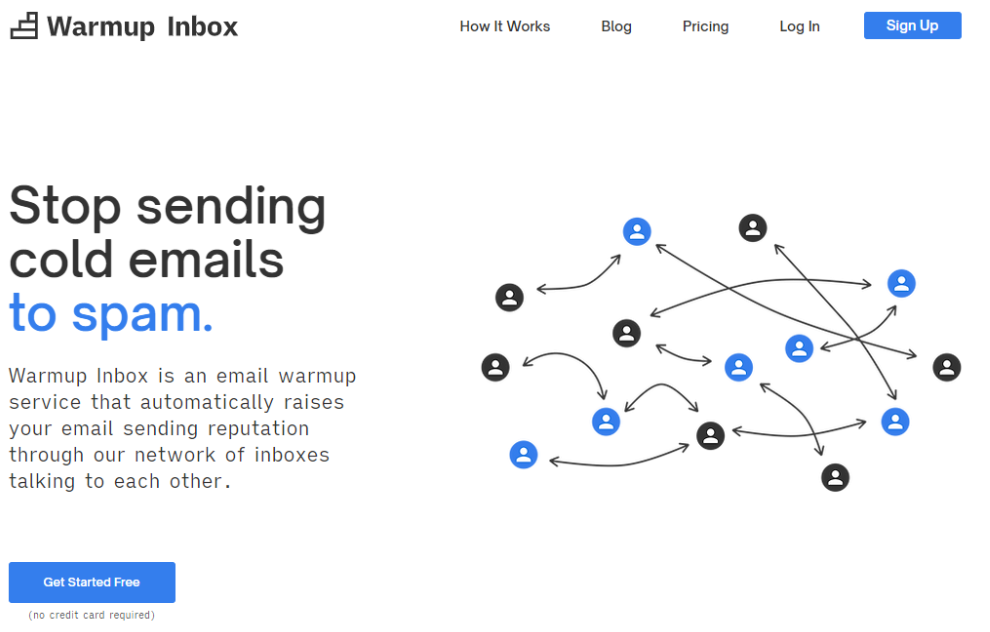
Please refer to our “How to Warm an IP” guide for IP warming considerations.
SOP: How to warm an IP for a new email server
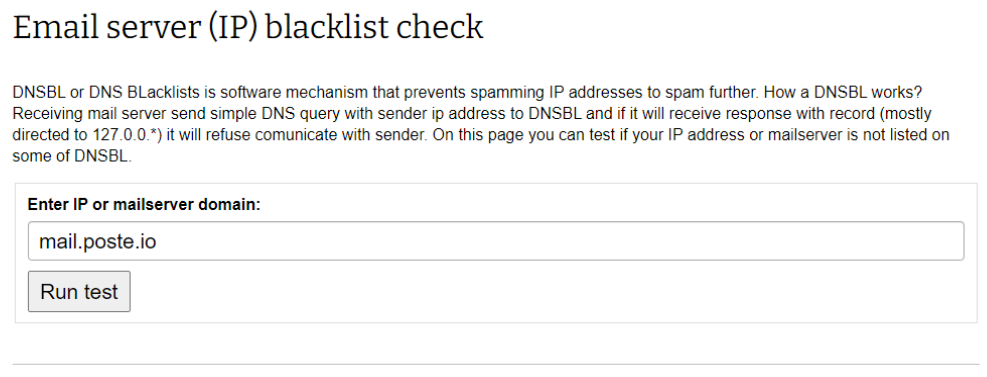
- Track IP reputation using poste.io/dnsbl, mxtoolbox.com/blacklists.aspx or dnsbl.info.
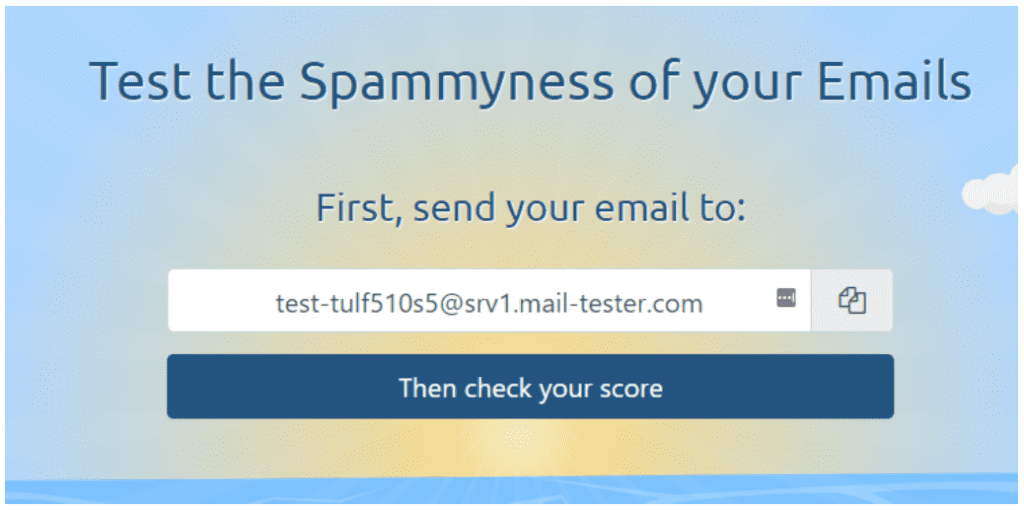
20. Test mail server and email templates using mail-tester.com to improve deliverability.
How To Set Up Your Phish Testing Dashboard
21. Create or log in to your AWS Account
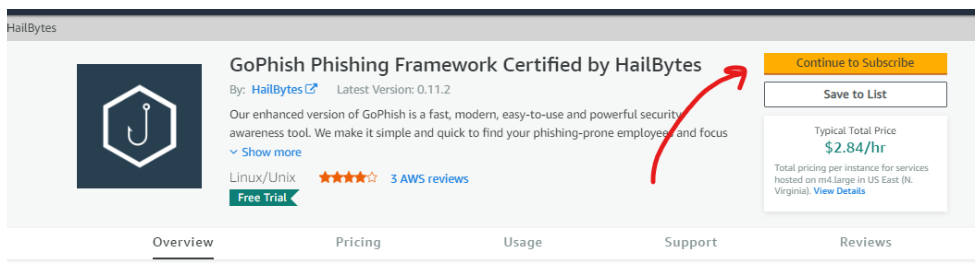
22. Visit the GoPhish marketplace listing

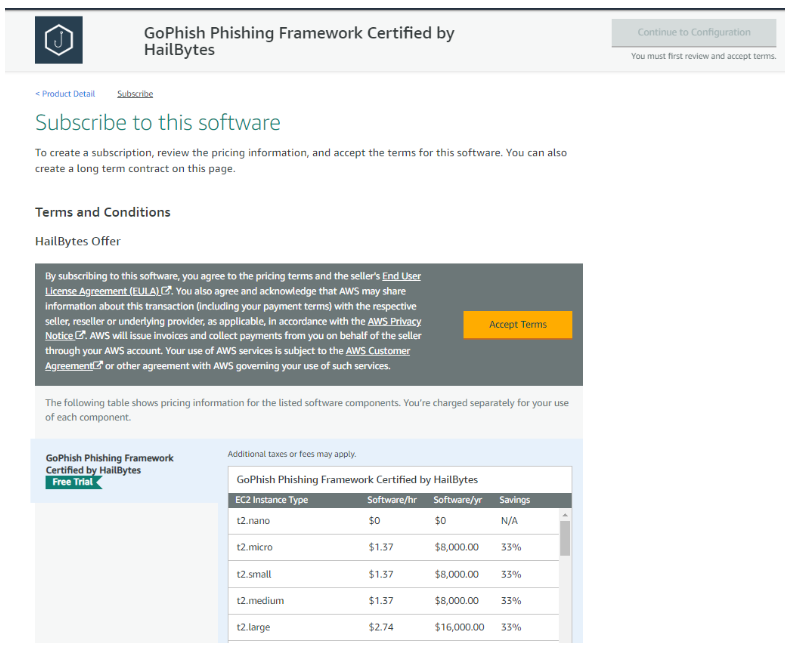
23. Start a free trial with the marketplace listing
24. Accept the terms and provision a GoPhish server within your AWS account. If you’re creating a brand new account, Amazon will verify your account and sent you the verification by email.
25. Log in to your GoPhish dashboard using your username and instance ID.
26. Configure your Sending Profile to use your new Poste.io SMTP server on Contabo.
SMTP Connection Details
- host: mail.yourphishdomain.com
- port: 465 (TLS required), 587 alternatively (STARTTLS required)
- authentication required
- username is whole email address username@example.com
- 27. Set up your first Campaign.
- 28. Send your first Campaign
Have questions? You can see our GoPhish documentation here, or reach out to us for help at support@hailbytes.com
FREQUENTLY ASKED QUESTIONS
- host: mail.yourphishdomain.com
- port: 465 (TLS required), 587 alternatively (STARTTLS required)
- authentication required
- username is whole email address username@example.com
- 27. Set up your first Campaign.
- 28. Send your first Campaign
Have questions? You can see our GoPhish documentation here, or reach out to us for help at support@hailbytes.com